This is the second article in a 4-part series about DPI. If you are not so familiar with DPI, read the introduction article first.
We will be releasing three more articles soon: DPI Myths, The magic formula and Put into practice.To get informed when the new articles come out, sign up to our newsletter.
Myth #1: A digital image with a low DPI is low quality
This is crucial to remember: when it comes to digital images, DPI is just a number in the image's metadata. It says nothing about the actual stored image. You can set a 600×600 pixel image to 30 DPI or 300 DPI, but it won't change the amount of pixels and therefore the amount of detail in the image. All it does is suggest at what size the image is intended to be printed.
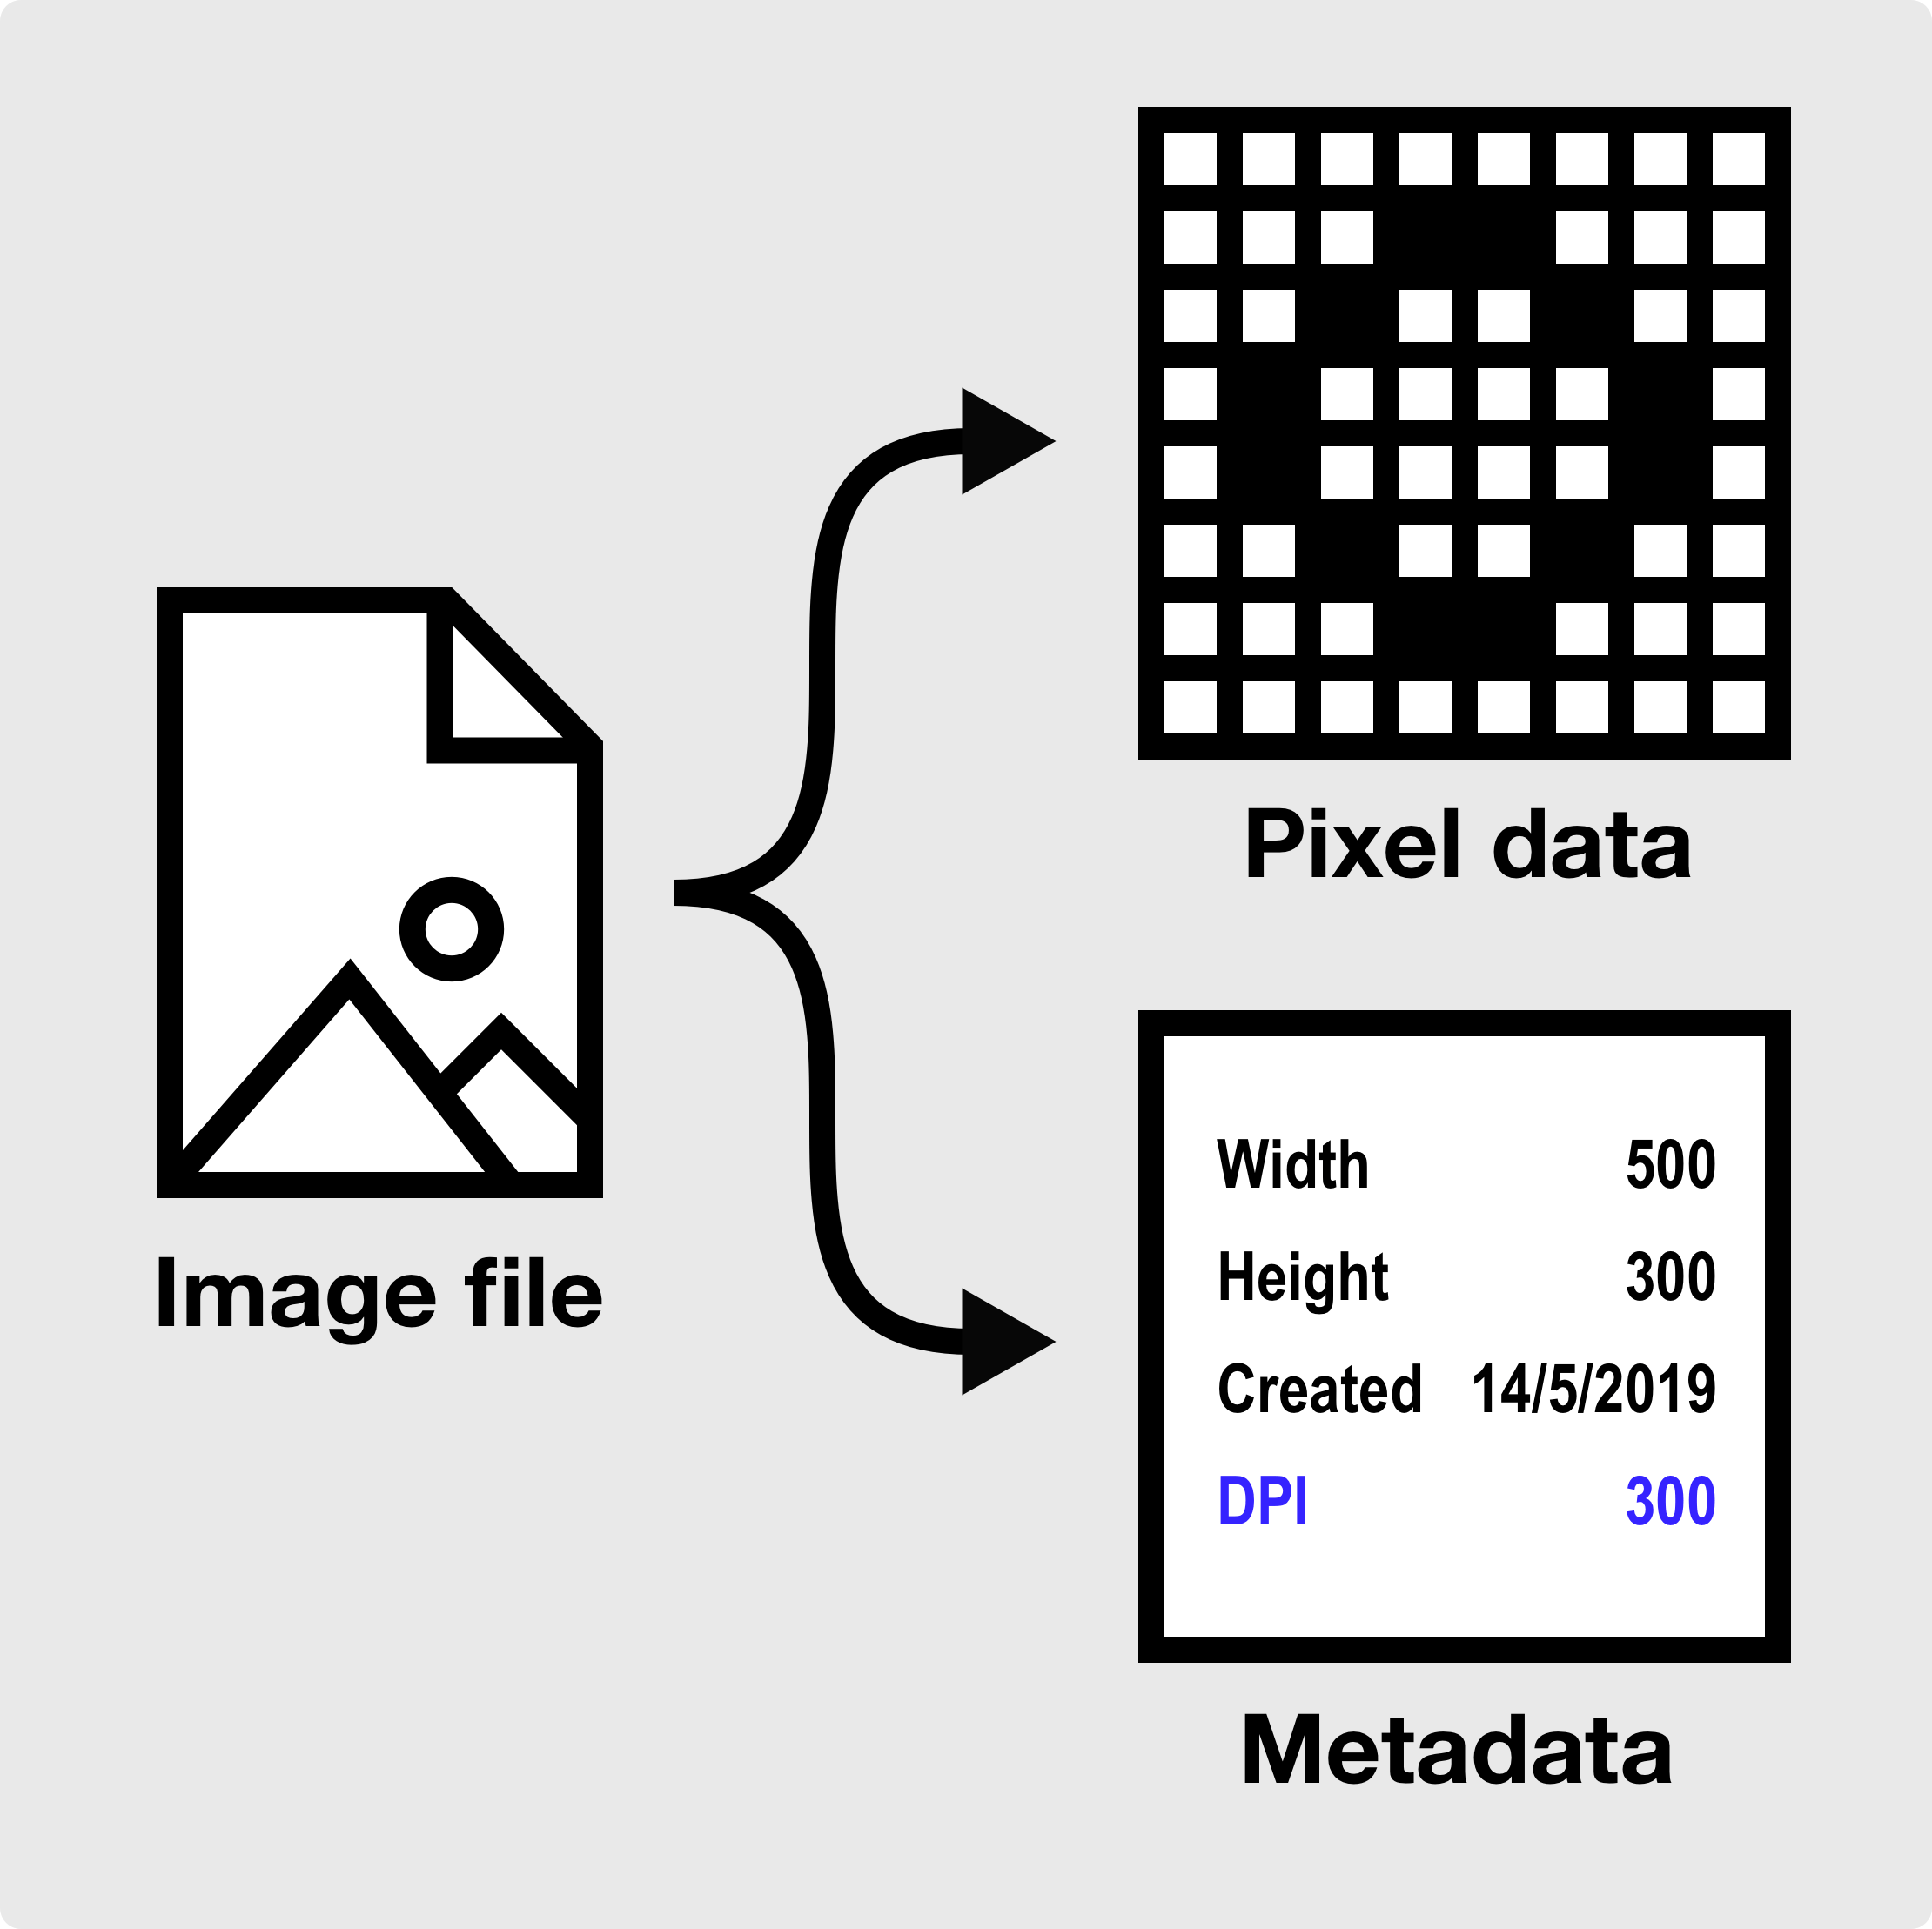
So what does influence an image's detail and quality?
- The amount of pixels: More pixels hold more information and give a sharper image. Note that upscaling a small image may give you more pixels, but not more detail, because the details wasn't there in the first place!
- The amount of compression: More compression typically means lower quality, because it will reduce detail to reduce the file size.
Myth #2: Resolution and DPI are the same thing
This is a complicated one, because it depends on the context you are using the word "resolution" in.
When you hear someone talk about the resolution of a physical print, they are usually referring to its DPI. A high resolution print would mean it has a high DPI. To avoid confusion, I tend to simply calling this DPI .
Talking about the resolution of a digital image, we typically mean the number of pixels it has. For example, an image may have a resolution of 4,000×3,000 pixels, or 12 megapixels. This is the more common use of the word in digital design these days, so that's how I recommend using it.
Myth #3: A digital image will be printed at the DPI you save it at
The DPI you save your image at is a suggestion about what physical size it should be printed at. When you are in your printer dialog, the image size will by default be determined by resolution and DPI setting. Example: an image 1500px wide printed at 300 DPI will be 5 inches.
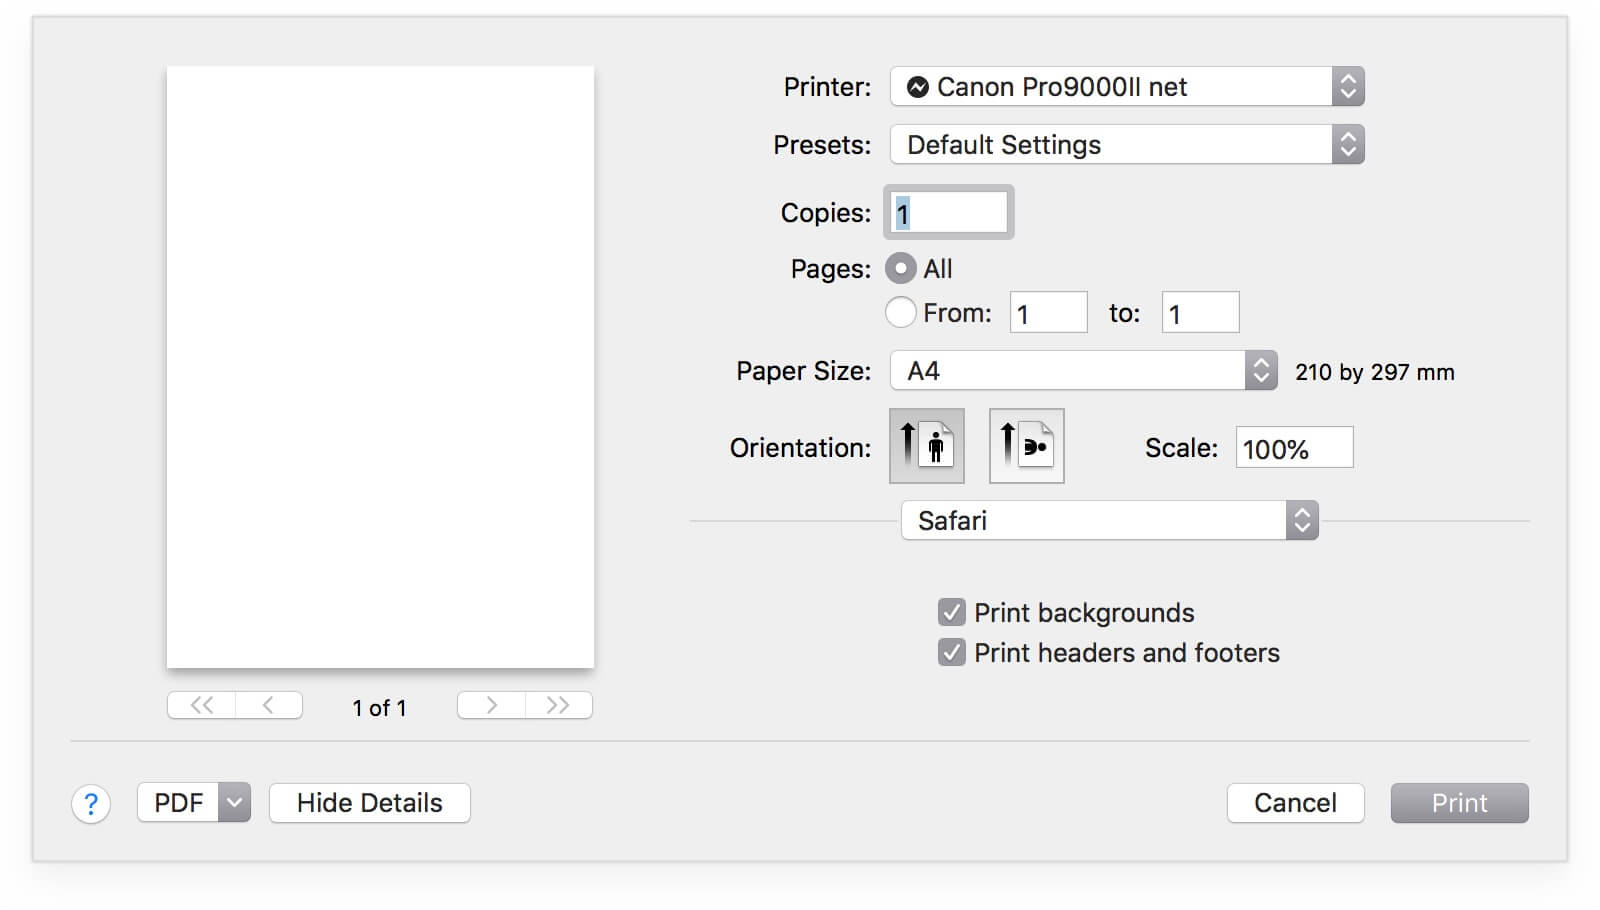
However, there is nothing stopping you from changing the size of your image in the printer dialog. The same goes for graphics software like Photoshop: when you load your image into a Photoshop, it will by default have its size set based on its DPI. When you resize the image within the Photoshop, you are effectively changing its DPI.
Myth #4: DPI means the same to a digital image and a printer
Pixels and ink dots seem a bit similar, so it's tempting to think that setting your digital image or printer to 300 DPI means the same thing. That's actually not the case. Let's look closely at why.
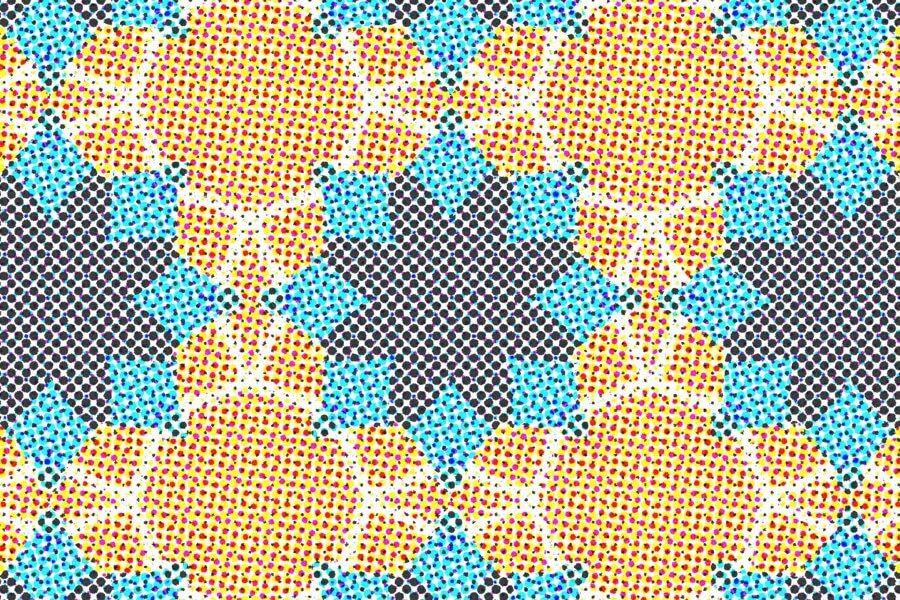
Below are two close-up samples of the same image. You can see 30×30 pixels (left) give a lot more detail than the same resolution of ink dots (right). That's because we represent a single pixel as a "perfect blend" of its 3 base colors (RGB), while a single dot is just one its 4 base colors (CMYK) with no blending, just a bigger or smaller dot.

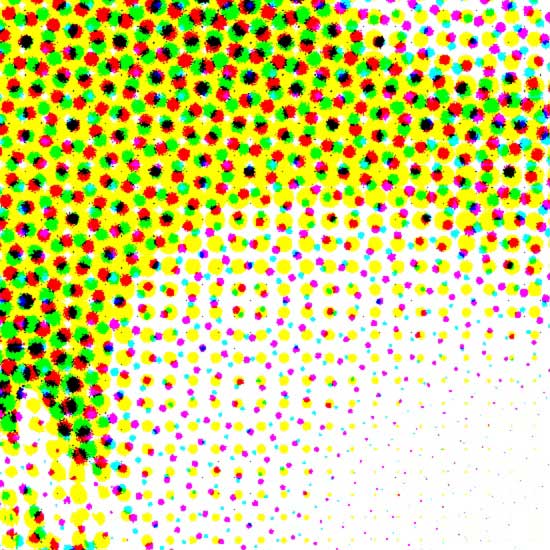
You can see how it requires a whole bunch tiny dots to blend together to the eye and form a single homogenous color, like you see in a pixel. This is why your printer may print at 600 DPI (inkjet) or as high as 2400 DPI (laser), but there is typically no need to save your image higher than 300 DPI.
In fact, this is why it's more accurate to talk about PPI (pixels per inch) for digital images: exactly because pixels and ink dots are not the same thing.
The main takeaway: Feel free to call it DPI or PPI for your digital image, just remember that both are referring the amount of pixels per inch, not ink dots.
Next time: the magic formula!
That's it for now, but we'll be back soon with a handy guide of how to calculate with DPI, resolution and print sizes.
Make beautiful geometric patterns with Repper
Instant results · 14 days free access · No strings attached
Create your own pattern
